1. How to generate and download the image of the design made by the customer for printing.
You can download the design made by your customers from the app Backend.
Here a video tutorial:.
Notice that the resolution of the downloaded image depends on the resolution of the images uploaded by the customers. It is not technically possible to increase the DPI of an image. For instance, if the customer has uploaded a 72DPI image, it is not possible to generate a 200DPI image. The maximum resolution will be always the maximum resolution of the image uploaded by the customer.
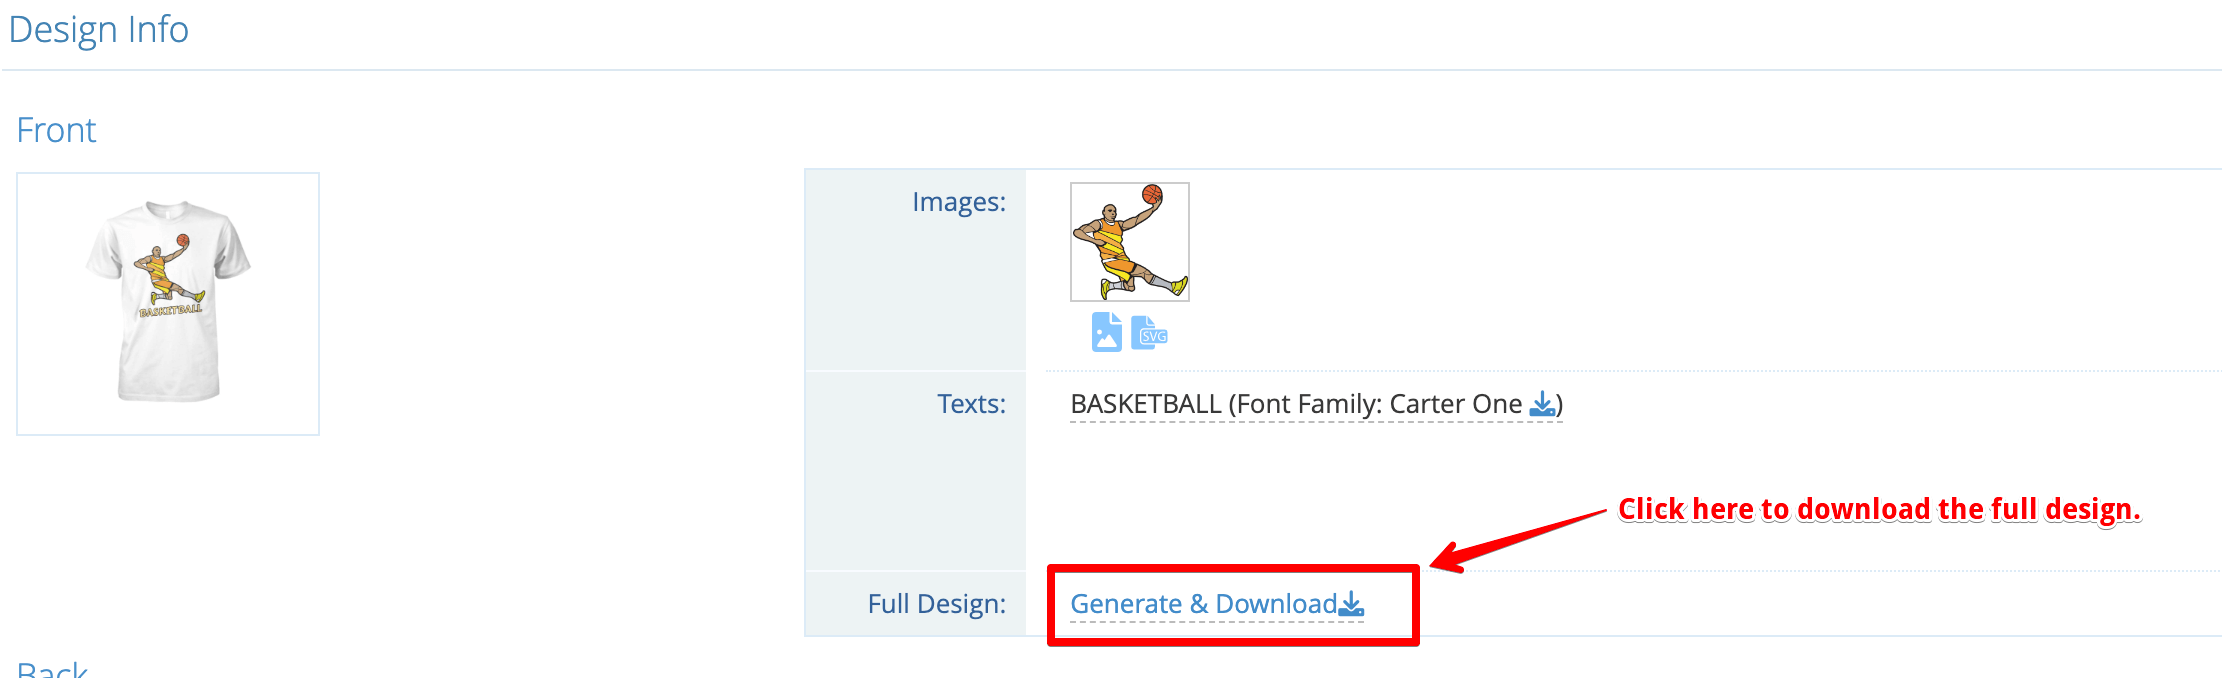
Use this link to download the design:
Use these buttons to download the image of the design:
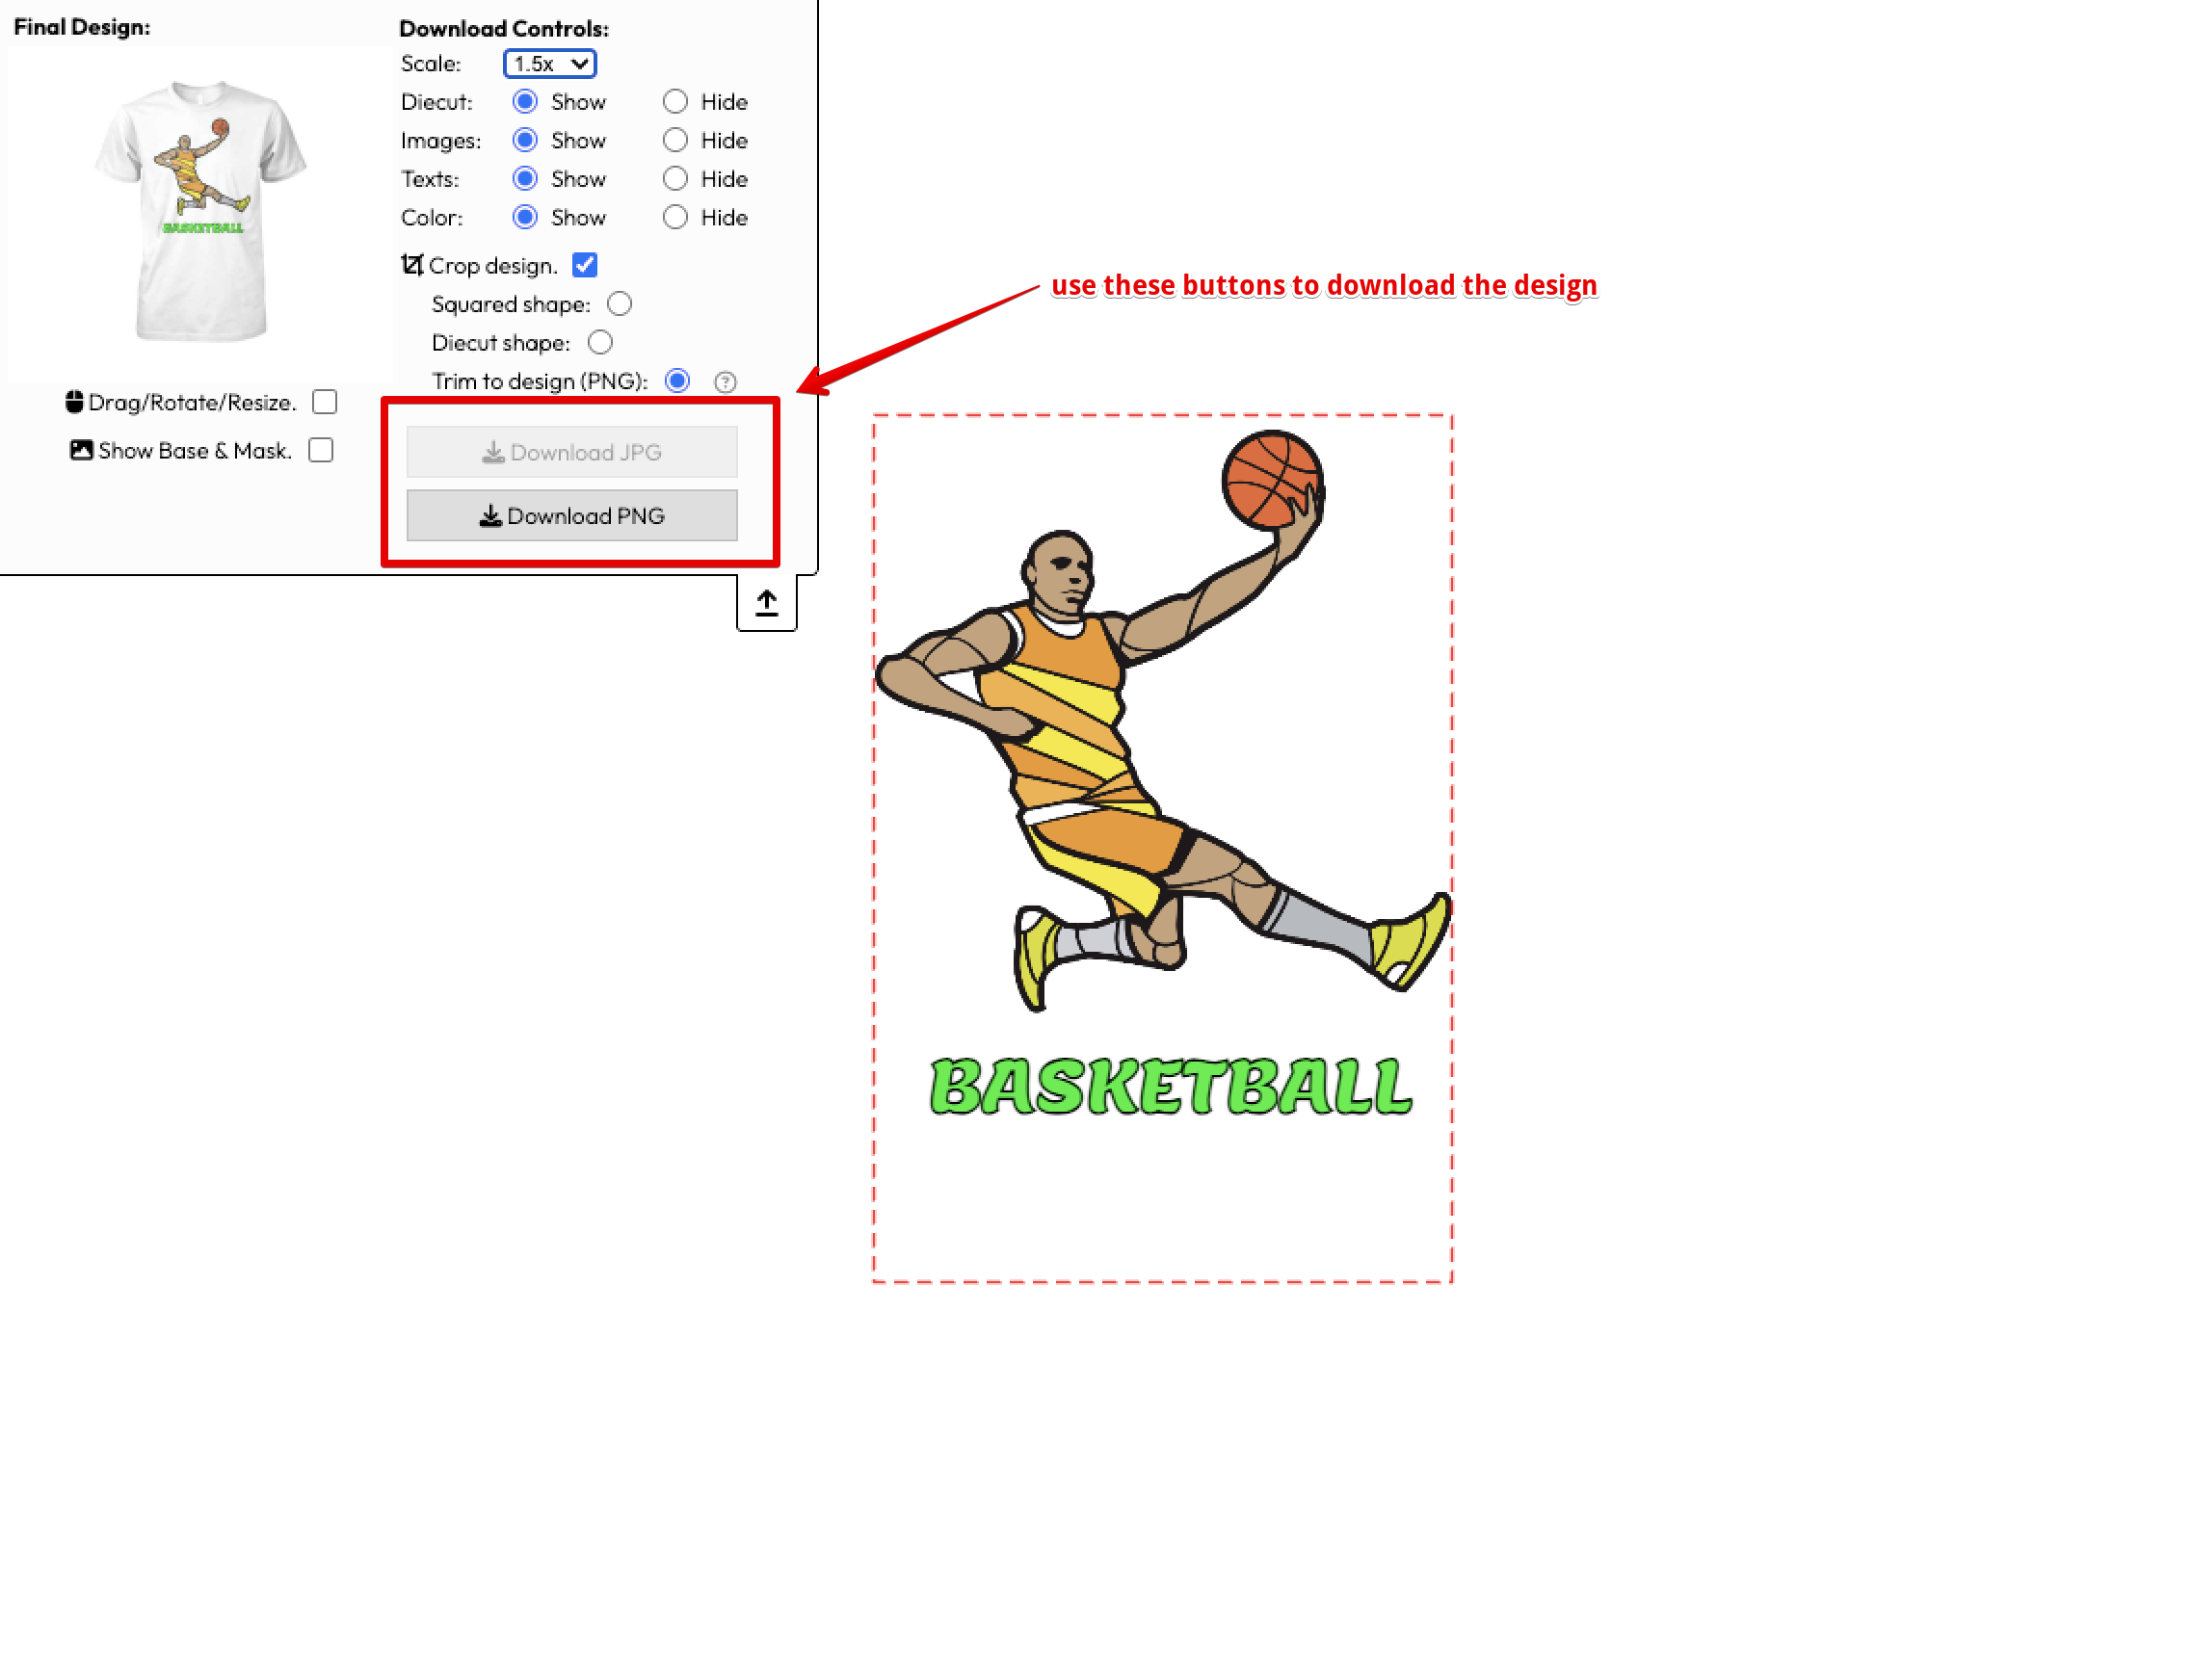
2. The Download Controls panel.
The panel on the top left of the generation tool lets you decide exactly what goes into the downloaded file and at which resolution. Nothing you change here is saved: it only affects the file you are about to download, so you can generate different versions of the same design as many times as you need.
- - Scale: the resolution of the generated file, from 1x up to 10.9x. The design area is 800x700px at 1x, so at 10x you get a file of around 8000x7000px. Use a higher value when you need print quality, and keep in mind that the higher the scale, the bigger the file and the longer it takes to generate. Remember that scaling up cannot add detail that the customer's original image does not have.
- - Diecut: shows or hides the diecut lines (the cutting guides of the product). Set it to Hide before downloading a file for production: normally you do not want those guide lines printed on the final garment or product.
- - Images: shows or hides the images of the design. Useful to download only the texts, or to check what the design looks like without the customer's photos.
- - Texts: shows or hides the texts of the design. Useful, for example, if you print the texts with a different technique than the images and you need a separate file for each.
- - Color: shows or hides the background colour of the product. Hide it when you need only the artwork over a transparent background, which is what you normally want for DTF, DTG or sublimation.
- - Drag/Rotate/Resize: enables editing of the design directly in the tool, so you can move, rotate or resize the elements before downloading. Use it to fix a design that the customer left slightly out of place. It is disabled automatically while the file is being generated, so the editing handles never appear in the downloaded image.
- - Show Base & Mask: displays the product image and its mask underneath the design, so you can preview how the artwork sits on the actual product. It is only a visual aid for you: the base and the mask are never included in the downloaded file.
A typical setup to download a print ready file is: Diecut: Hide, Color: Hide and the scale you need for your printer.
3. Crop options: download only the design, without the empty space around it.
In the Download Controls panel of the generation tool you can choose how the file is cropped before downloading it. Tick Crop design and pick one of the options:
- - Squared shape: the design is cropped to a square shape using the diecut lines.
- - Diecut shape: the design is cropped to the shape of the mask (squared, circular or polygonal) defined in the product settings.
- - Trim to design (PNG): the file is cropped to the artwork itself, removing all the empty space around it.
Trim to design is useful when you prepare the files manually for production (DTF, DTG, sublimation...), because it saves you from opening every file in an image editor to remove the empty space before printing. It is specially handy if you arrange several designs by hand on a transfer sheet.
This option always downloads a PNG with a transparent background (the empty area is detected through the transparency of the image), so the Download JPG button is not available while it is selected.
Important: the resulting file no longer has the size of the print area, so it also loses the position reference of the design inside it. Use it when you place the designs manually. If your printing software positions the design automatically expecting the full print area size, use one of the other crop options instead.
Trim to design is available on the Professional plan. If you are on a free trial you can test it during the trial period.
You can also set this crop mode permanently per product (and per side) so that every automatically generated file is already cropped. See the automatic generation settings.
4. How to download the design with the best quality.
Visit this link to get more information.
5. TIP. Download the design with an exact size in pixels.
If you need to download a design with a exact size in pixels, you can do it in this way:
Imagine that you need a file (jpg or PNG) with a size of 1500x1600px to print your product. Notice that the maximum size of the layout in the tool is 800x700px
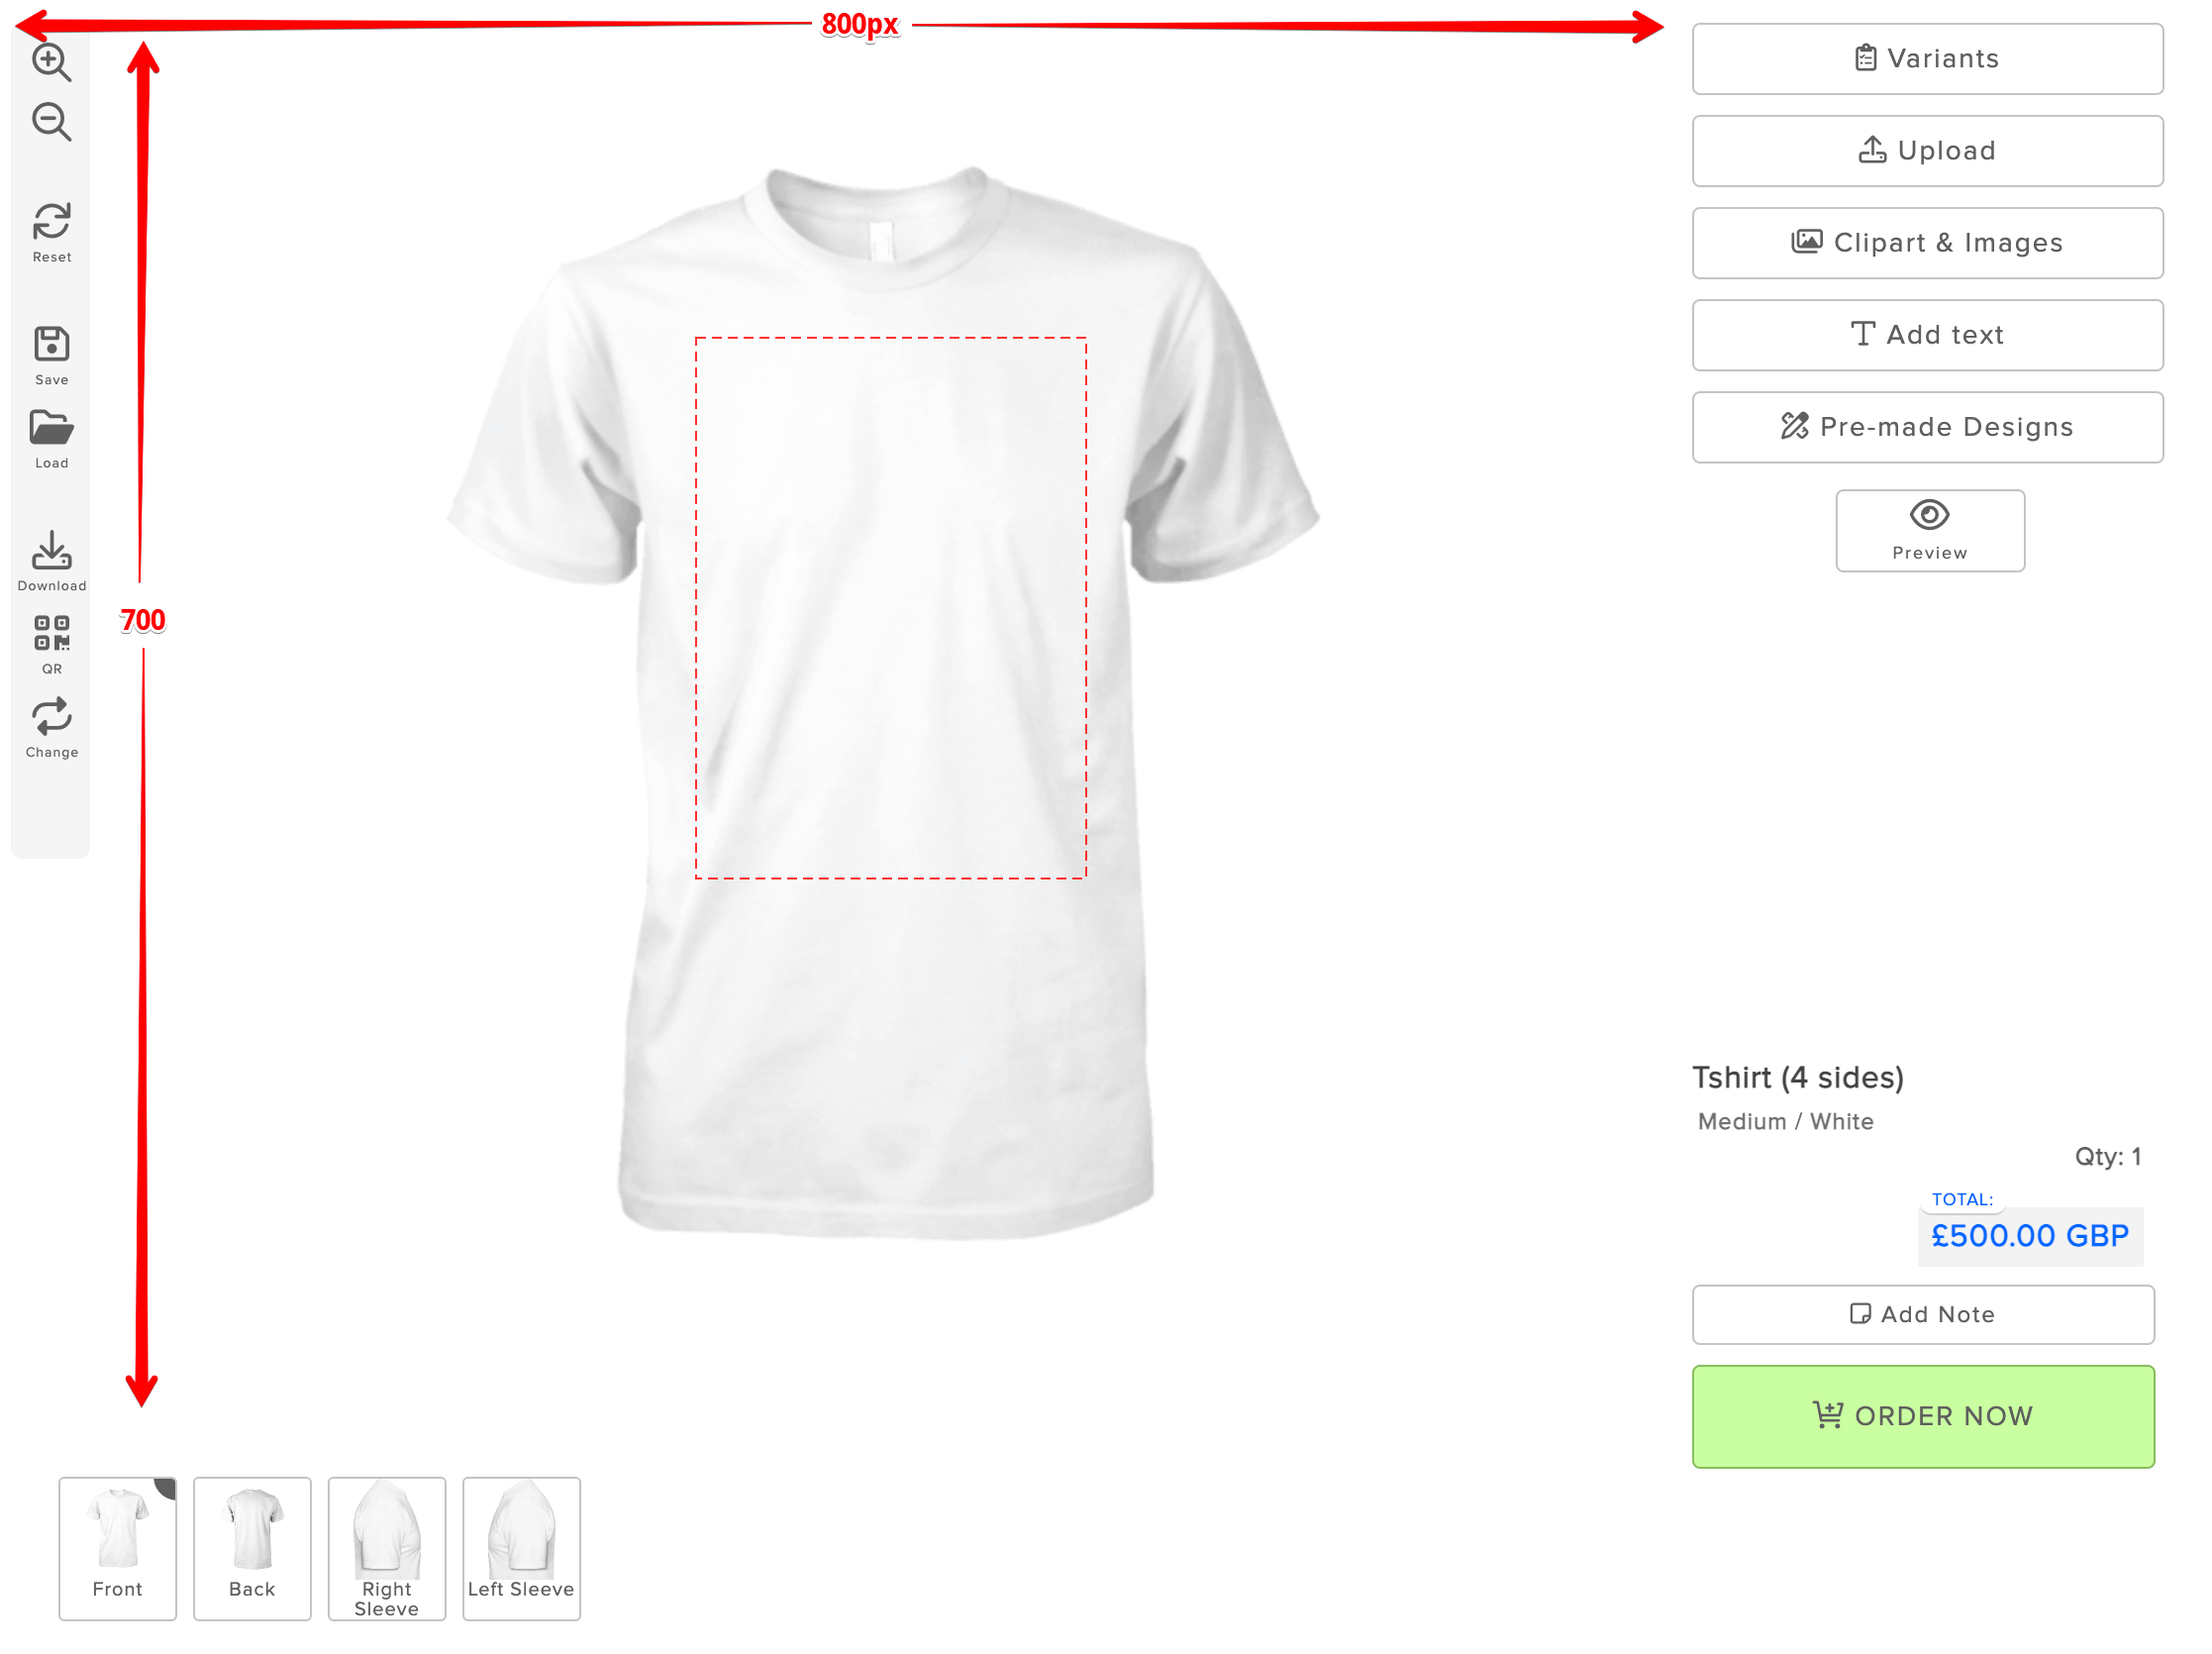
Reduce the size of the cropping area to, for instance, 4 times smaller to your desired size in pixels; I mean, 375x400px
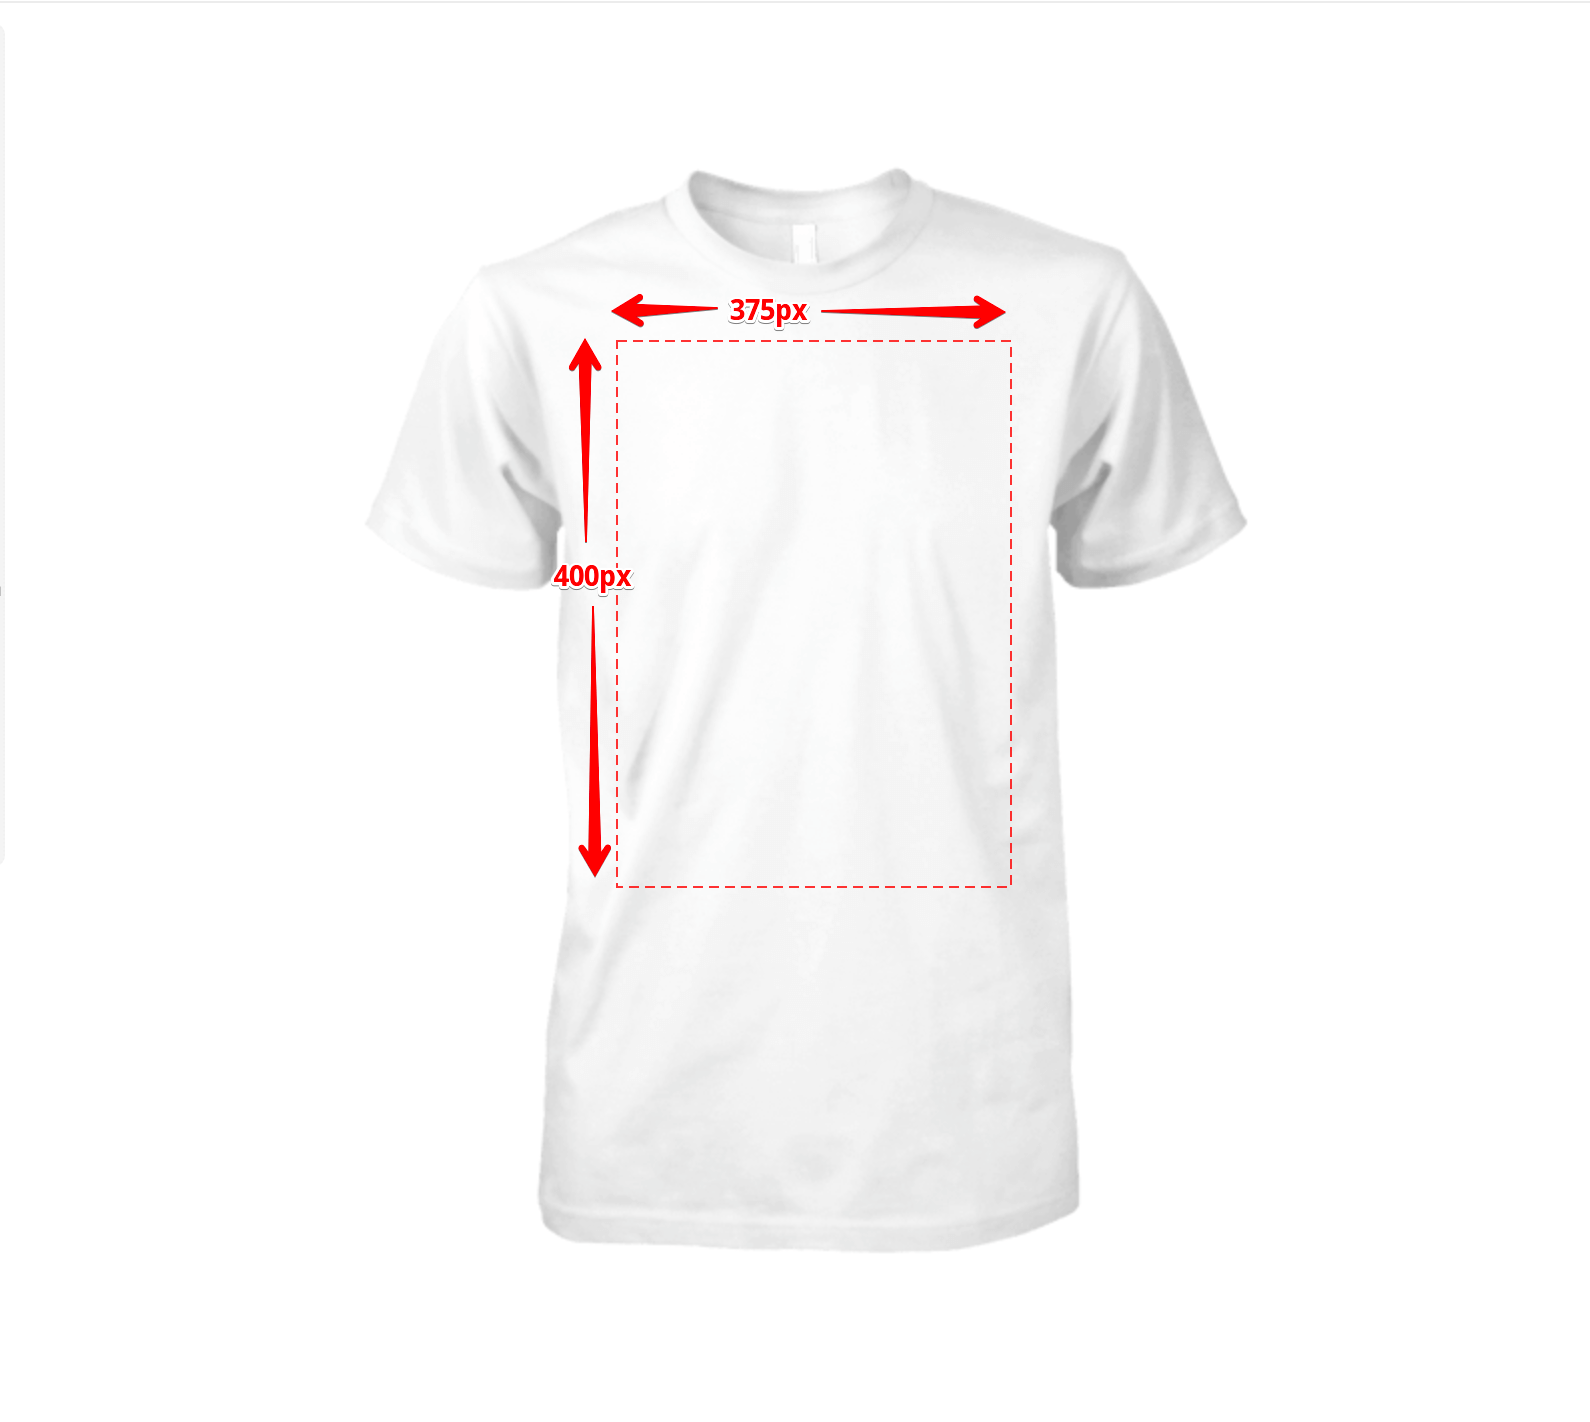
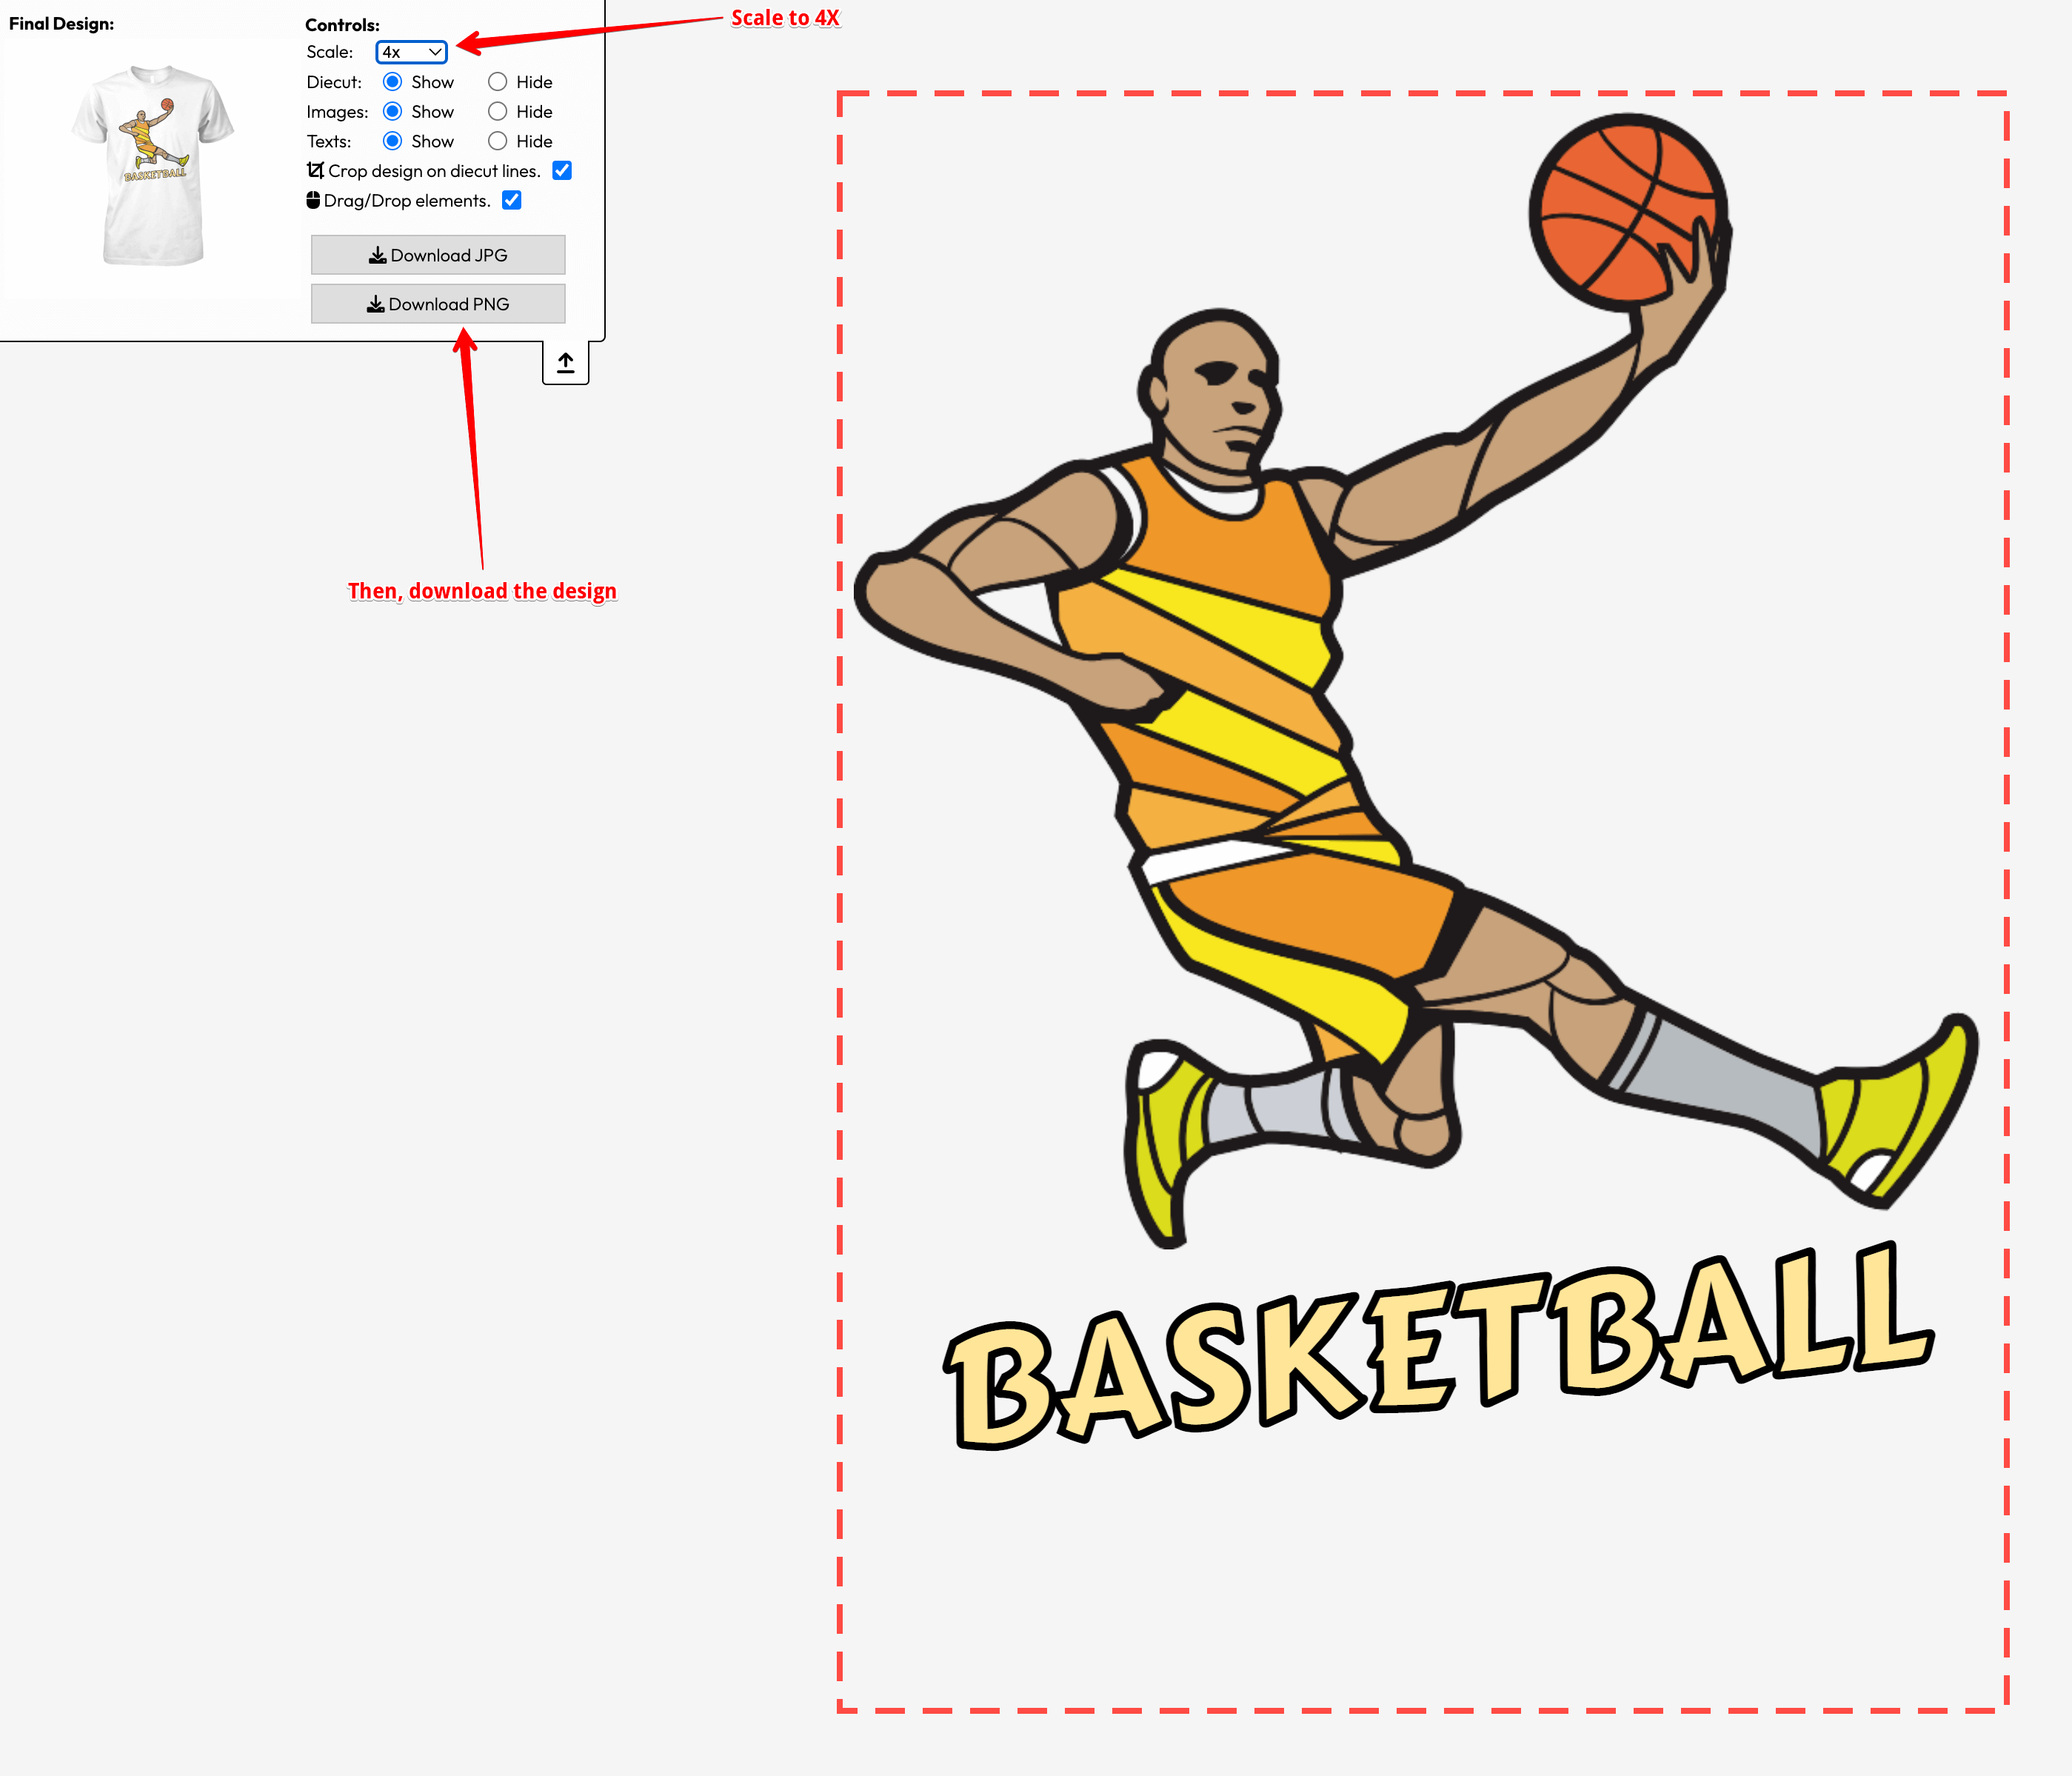
Then, in the backend, when you download the image for printing, scale it up to 4X and you will get the image just with the desired size you need